This is an old revision of the document!
Big Shell: Pre-Stillman
Strut A Deep Sea Dock
Strut A Roof
Strut A Pump Room
AB Connecting Bridge
Strut B Transformer Room
BC Connecting Bridge
Strut C Dining Hall
Big Shell: Bomb Disposal Segment (Part 1)
Strut C Dining Hall
BC Connecting Bridge
Strut B Transformer Room
AB Connecting Bridge
Strut A Pump Room
Note: You MUST pick up the box here if you plan on doing Conveyor Belt Route.
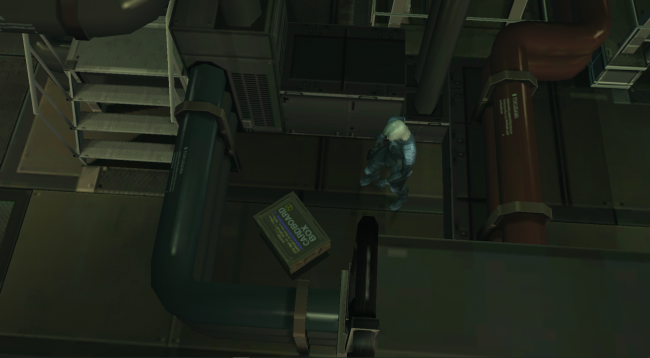
FA Connecting Bridge
Strut F Warehouse
EF Connecting Bridge
Strut E Parcel Room
Strut E heliport
Note: You MUST pick up the box here if you plan on doing Conveyor Belt Route.
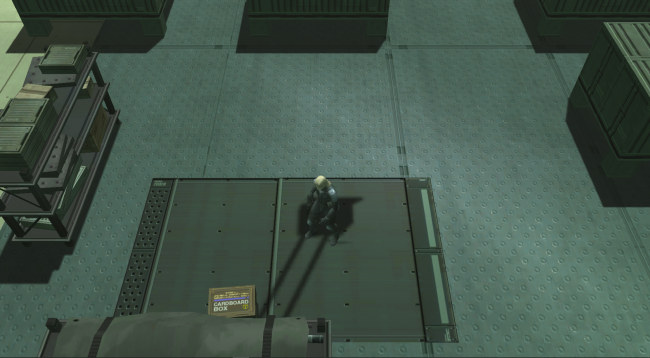
Strut E Parcel Room
Strut C Dining Hall
CD Connecting Bridge
Strut D Sediment Pool
DE Connecting Bridge
Strut E Parcel Room
Strut A Pump Room
Strut A Roof
Strut A Deep Sea Dock
Boss Fight: Fortune
Big Shell: Bomb Disposal Segment (Part 2)
Strut A Roof
Tap R2 to bring out the M9 and avoid the claymores here. Using the box to avoid the claymores can be useful.
Pick up the Chaff Grenades.
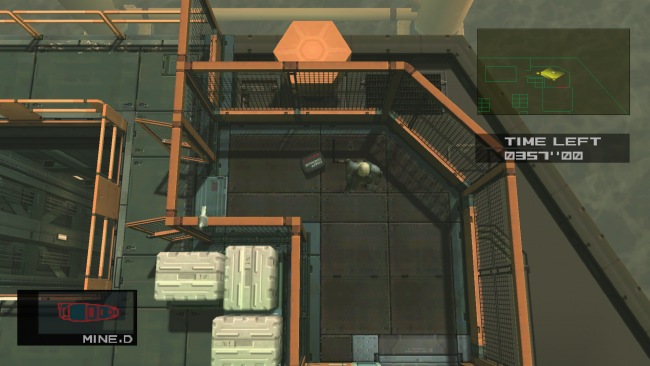
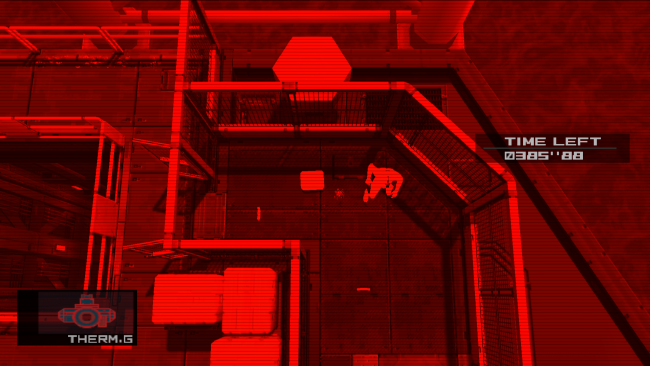
Strut A Pump Room
FA Connecting Bridge
Strut F Warehouse
EF Connecting Bridge
Strut E Parcel Room
Strut E heliport
Boss Fight: Fatman
Big Shell: Heading to Ames
Strut E heliport
Strut E Parcel Room
EF Connecting Bridge
Strut F Warehouse
EF Connecting Bridge
Shell 1 Core, 1F
Shell 1 Core, B2 Computer Room
Shell 1 Core, B1
Shell 1 Core, B1 Hall
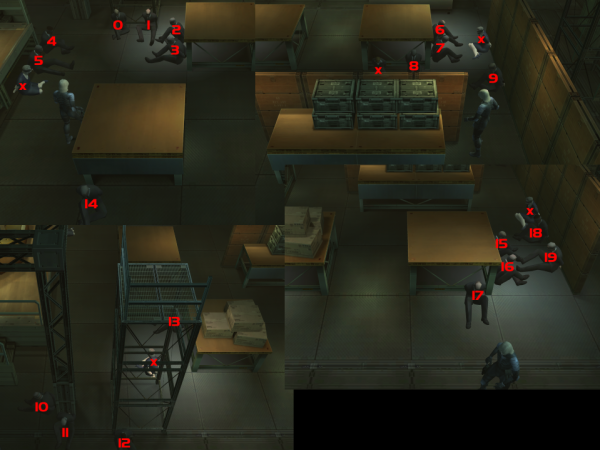
- <html><span style=“color:SandyBrown”>NG:</span> Ames will always spawn in the same position, which is spot #14 on the photo below. <br></html>
- <html><span style=“color:SandyBrown”>NG+ and NG++:</span> Ames can spawn in 20 random positions and the game determines this the moment the player enters the Shell 1 Core, B1 Hall for the first time. <br></html>
Big Shell: Heading to the President
Shell 1 Core, B1
Shell 1 Core, 1F
EF Connecting Bridge
Strut F Warehouse
EF Connecting Bridge
Strut E Parcel Room
DE Connecting Bridge
Strut D Sediment Pool
Shell 1-2 connecting bridge
Boss Fight: Harrier
Shell 1-2 connecting bridge
Strut L Perimeter / KL Connecting Bridge
Shell 2 Core, 1F Air Purfication Room
Shell 2 Core, B1 Filtration Chamber No.1
Shell 2 Core, 1F Air Purfication Room
Big Shell: Emma Escort
Shell 2 Core, B1 Filtration Chamber No.1
Boss Fight: Vamp 1
Shell 2 Core, B1 Filtration Chamber No.2
Shell 2 Core, B1 Filtration Chamber No.2 (swim with Emma)
Shell 2 Core, B1 Filtration Chamber No.2
Shell 2 Core, B1 Filtration Chamber No.1
Shell 2 Core, 1F Air Purfication Room
KL Connecting Bridge
- The best position to stand when spraying is the black line to the top of the fire. A good audio cue is when the phone begins to ring.
- The visual cue to stop spraying at the fire is when the black smoke appears.
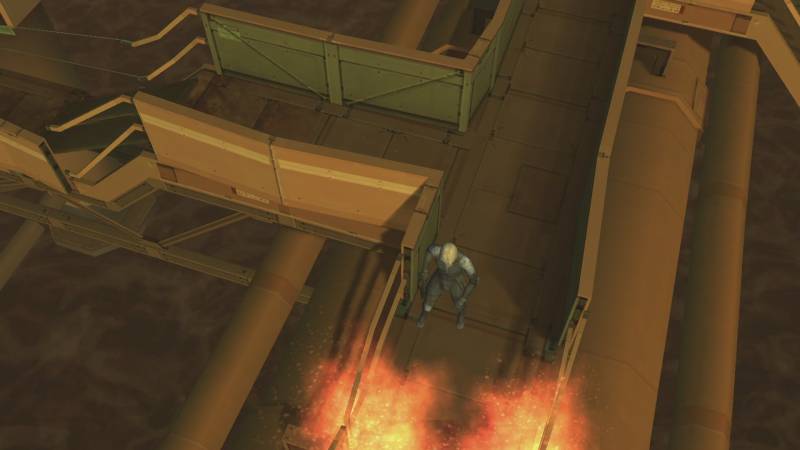
- When Emma gets past the thin part of the bridge, let go of her and head to the southern door.
