This is an old revision of the document!
General
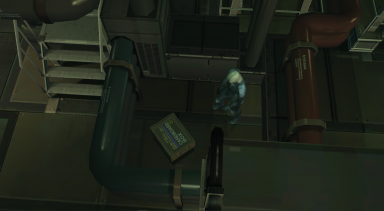
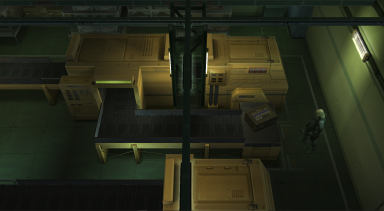
Conveyor Belt Route refers to a new route to take during Bomb Disposal segment which uses the conveyor belt in Strut E Parcel Room to teleport around the struts in Shell 1. It was originally developed by Stealth_Edge using a glitch found by magnum66.
Traditionally, bomb disposal routes take the most direct route to diffuse all the bombs. This means either going clockwise or counter-clockwise starting from Strut C Dining Hall and ending there too. Conveyor Belt Route on the other hand ends at Strut D Sediment Pool by starting counter-clockwise and then switching to clockwise towards the end of the route. The route saves time by visiting two less rooms overall, and this comes on your way to the elevator on Strut A Roof prior to Fortune. This means on top of the timesave you get from the route itself, you also save more time from having to visit less loading zones. This might not matter on ports like PC where loadtimes aren't a thing, but on consoles like PS2 or PS3, this can be a decent timesave.
There are a total of 5 boxes in the Plant chapter, but the player can only have access to 4 of them during the bomb disposal segment. Box 3 is necessary for the route so it must be picked up, but only one of Box 1 or 2 has to be picked up with the former being faster and prefered.
- Box 1 = Found in Strut A Pump Room, goes to Strut C Dining Hall.
- Box 2 = Found in Strut F Warehouse, goes to Strut B Transformer Room.
- Box 3 = Found in Strut E Heliport, goes to Strut A Pump Room.
- Box 5 = Found in Strut E Parcel Room, goes around the conveyor belt.
Box 5 is pointless for this route, as all it does is go around the conveyor belt so ignore picking it up. Box 1, 2, or 3 can serve for the box's other functions in the run.
The following table shows all the rooms the player will visit from after the cutscene with Stillman in Strut C Dining Hall all the way prior to riding the elevator pre-Fortune.
| Route | Room 1 | Room 2 | Room 3 | Room 4 | Room 5 | Room 6 | Room 7 | Room 8 | Room 9 | Room 10 | Room 11 | Room 12 | Room 13 | Room 14 | Room 15 | Room 16 | Room 17 | Room 18 | Room 19 | Room 20 |
|---|---|---|---|---|---|---|---|---|---|---|---|---|---|---|---|---|---|---|---|---|
| Clockwise | C | CD | D | DE | E Parcel | E Heliport | E Parcel | EF | F | FA | A | AB | B | BC | C | BC | B | AB | A Pump | A Roof |
| Counter-Clockwise | C | BC | B | AB | A | FA | F | EF | E Parcel | E Heliport | E Parcel | DE | D | CD | C | BC | B | AB | A Pump | A Roof |
| Conveyor Belt (Box 1 + 2) | C | BC | B | AB | A | FA | F | EF | E Parcel | E Heliport | E Parcel | B | BC | C | CD | D | DE | E Parcel | A Pump | A Roof |
| Conveyor Belt (Box 1 + 3) | C | BC | B | AB | A | FA | F | EF | E Parcel | E Heliport | E Parcel | C | CD | D | DE | E | A Pump | A Roof | - | - |
Note: Single-letter rooms are Struts, double-letter rooms are connecting bridges.
Note: On Hard, Extreme, and European Extreme, the player also has to go to Strut A Roof to diffuse a bomb there.
Note: The Box 1 + 2 Route is not recommended on the higher difficulties as the hallway in Strut B Transformer Room is covered with cameras.
Difficulty
The route is the same in structure across all difficulties. However, different difficulty mechanics requires a variety of different strats.


