This is an old revision of the document!
Before the Run
- Select English on Integral to save 7 seconds at Nuclear statistics!
Any% Extreme Disc 1
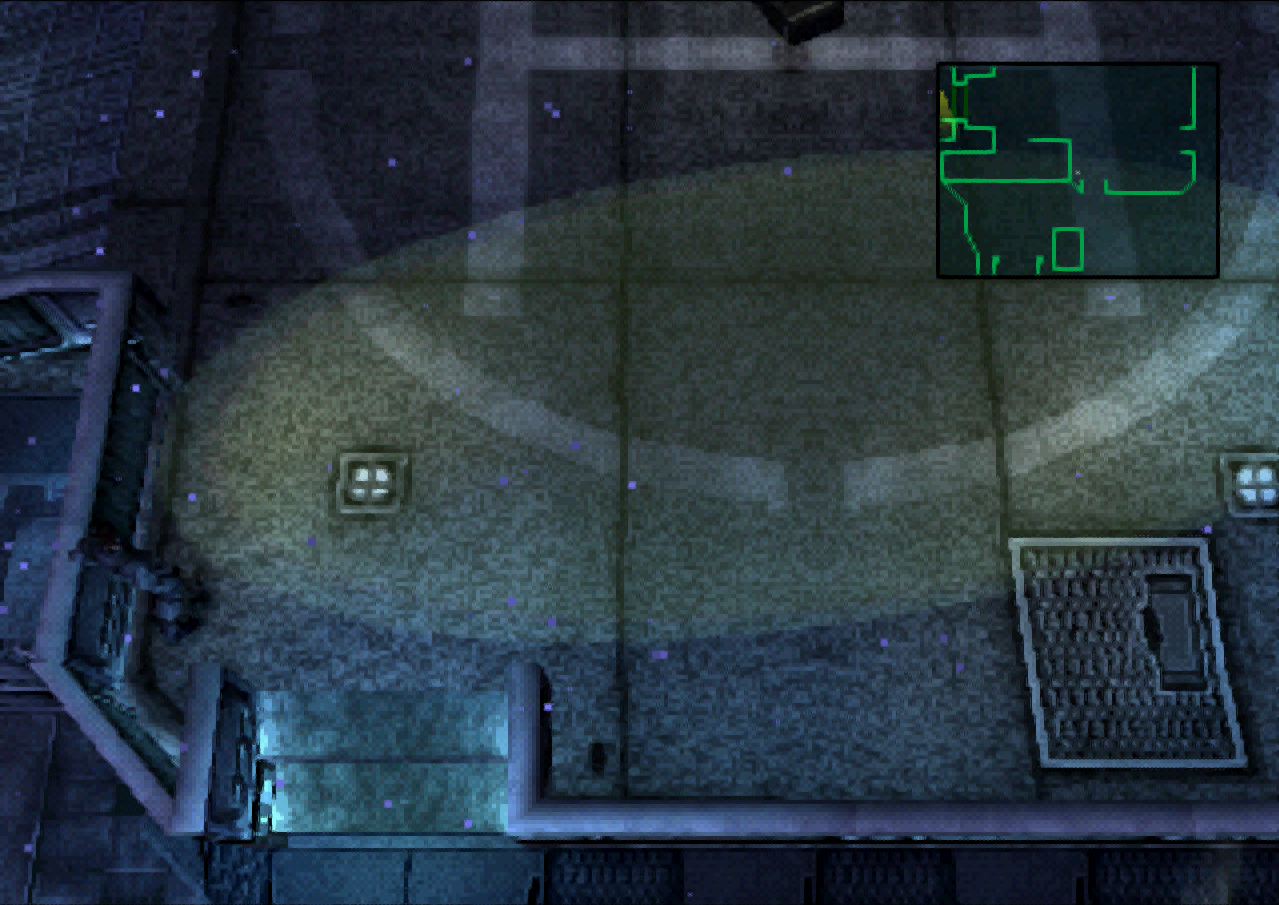
Dock
- There are many possible variants to the Docks, but only one thing is required. You must alter right guard's path, or kill him. If you do not, you will not be able to get on the elevator quickly.
- If you alter the left guard's path, you must alter it further or kill him. Unaltered, he leaves the elevator area just before the elevator arrives.
- You can use the credits as visual cues. Head up the left path when CG Artists Takashi Mizutani and Hideki Sasaki appear. The final credit is Assistant Director Yoshikazu Matsuhana.
- Stay to the shadows to avoid alerts.
- You can dive into the water if you are in Alert/Evasion Phase.
- Instead of knocking on the wall, you can let the elevator guard exit. This is slower.
Heliport
- Stealthy position at the searchlights
Tank Hangar
- If you do not hold up on the analog for the Miller call, Snake will stop crawling. Be sure to move forward on the analog stick at the end of the call, so you won't stop. Feel free to switch to Dpad afterwards if you prefer.
Cell
- Hold up and triangle, release both, then press X to clip the vent. Don't press X too fast, or it won't work.
Step Count Out of Bounds
- Down 2 Steps
- Left 5 Steps (hug the wall for visual cue of the grenade disappearing)
- Up Left 3.5 Steps
- Up 6 Steps
- Right Into Door
Medical Room

- Floor Cue

- Window Cue
Armory
 Laser Pattern
 Earliest point to start moving forward from the corner
Additional Strategies
Column 1 Backup, can also PPK the guard
Brush up Strategy
One Punch Strategy
- 3rd Column, aka TAS Armory - It's all about Snake's spinning after the wake up, if you wake up right under the top-left lasers, you'll make a little turn, fitting properly into the middle area. Notice how I wait until Snake completely turns down after I pickup the PSG1. If you don't wait, you'll bump into the lasers on the right.
Canyon
Nuke Building 1F
- Analog Buffer is equip Chaff when going to crawl, PP,P
- DPad Buffer is equip Chaff when going upleft at 3rd shadow
Nuke Building B1/Commander's Room
Cave
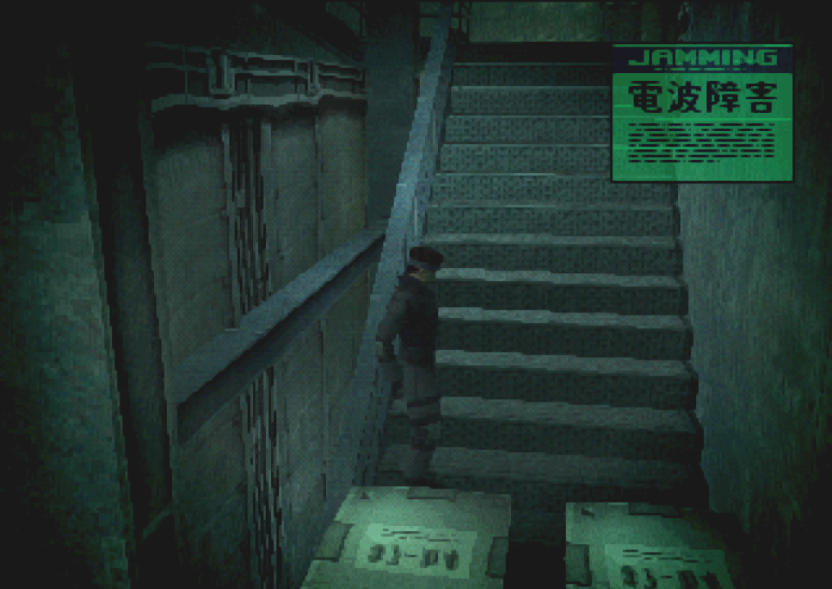
Underground Passage/Communications Tower A
- Halfway up Flight 4 (optional)
- The Landing of Flight 9 (The Frozen Door)
- Past the ration (when the grate disapppears)
- 2nd guard of Flight 11 (halfway up the flight)
- Just before Flight 14 (as you are passing the guard)
- Halfway up Flight 16
- Halfway up Flight 23 (optional)
Roof Communications Tower A
Tower Wall A
https://youtu.be/IPkzZJMNdoY?t=3
https://www.youtube.com/watch?v=DaJRf6fB5So&feature=youtu.be
https://www.youtube.com/watch?v=wS5uEWz4Dnk&feature=youtu.be
Walkway
Communications Tower B Ascent
- Otacon Cutscene Trigger
- “Position your thumb at 10 o'clock while climbing the stairs, and 7 o'clock when descending. This way, you hug the exterior walls, run up the stairs in the most direct route, and don't become stuck or stalled on the banisters.” - Official Strategy Guide
Communications Tower B Descent
- The correct position for the lineup strategy
Snowfield (Wolf 2)
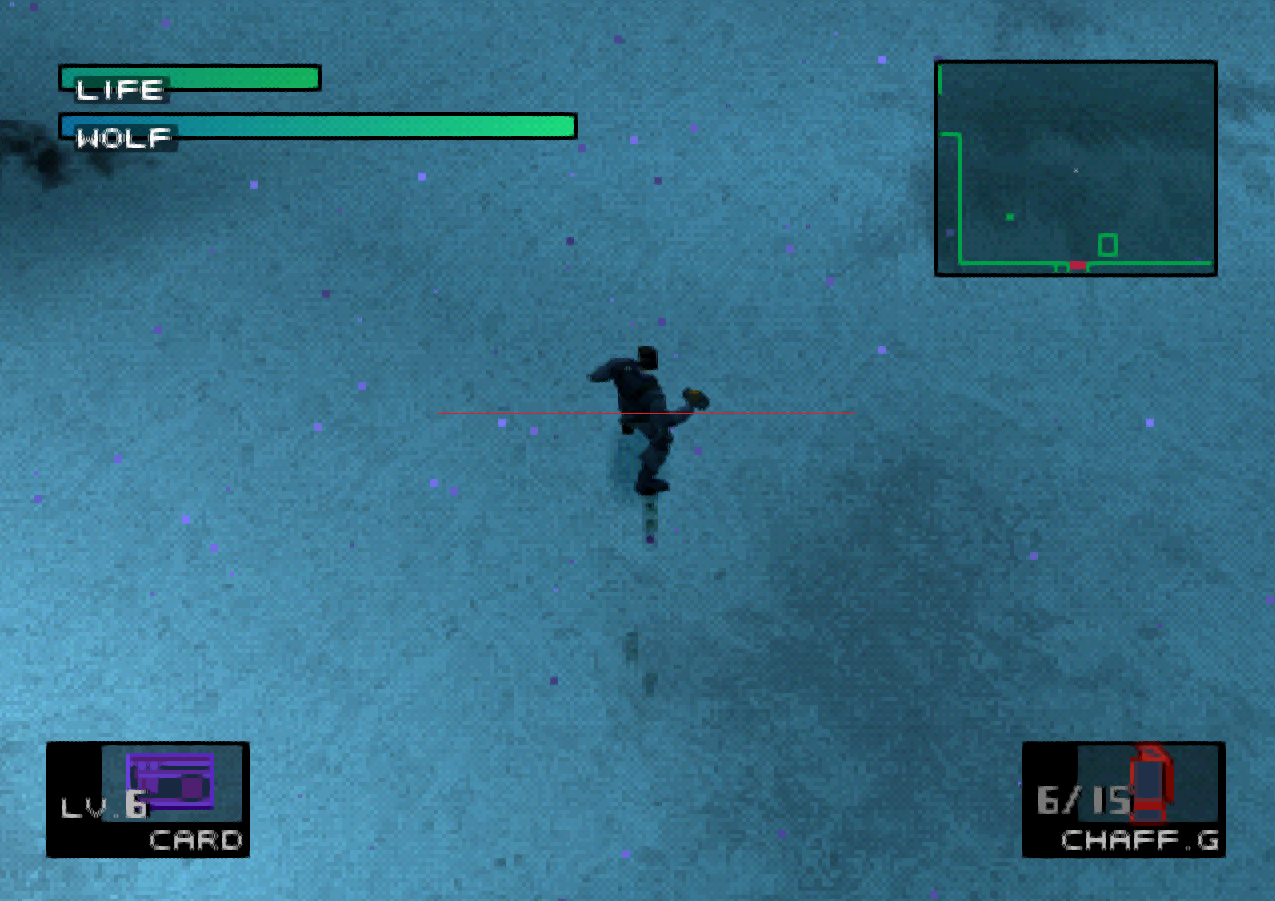
- Barrier Position