Table of Contents
Before the Run
All Bosses PC Route
- All menus will be written out by input, NOT placement in inventory!
Dock
- Unless you are going for Rank 1 or Big Boss, you want to farm alerts in the Dock.
- There are many possible variants to the Dock, but only one thing is required. You must alter right guard's path, or kill him. If you do not, you will not be able to get on the elevator quickly (assuming stealth).
- If you alter the left guard's path, you must alter it further or kill him. Unaltered, he leaves the elevator area just before the elevator arrives (assuming stealth).
- You can use the credits as visual cues for stealth. Head up the left path when CG Artists Takashi Mizutani and Hideki Sasaki appear. The final credit is Assistant Director Yoshikazu Matsuhana.
- Instead of knocking on the wall, you can let the elevator guard exit. This is slower.
Heliport
- Initial dpad movement is simple and the same on every difficulty to manipulate the Helipad guard
- Hold 9 to equip chaff immediately
- Stealthy position at the searchlights
Tank Hangar
- Pay attention to the left rat as a visual cue for when to press select for the Miller call.
- Once out of the vent, stand up quickly by pressing triangle and X shortly after another. This will skip the stand up animation play out.
- Don't cook the chaff the moment you exit the vent, or else the wrong guard can hear it. Begin cooking it a second later.
- Knock on the box for a safe and easy way to distract the guard.
- You can also throw the guard approaching the elevator, but it is slower and harder.
Cell
- As you approach the DARPA Chief vent, mash circle to enter the vent as early as possible (Vermillion Vent)
- Hold downleft at the left edge of the door to prepare Snake for exiting the cell
For the Very Easy difficulty you can do an alternative wrong warp approach to start the cell fight. Follow the tutorial here:
MGS1 Wrong Warps
Guard Encounter
Armory
- When blasting yourself through the walls, tap once in the opposite direction of the wall when along the wall, then plant the C4
- Unequip card, one to right for rations to blast through Armory walls
Armory South (Revolver Ocelot)
Socom Ocelot Tutorial (Focused on aasy but works on all difficulties)
- On Easy, Ocelot will stand still when saying “Hiding won't help you…”
- You take so little damage from the Single Action Army that you can tank all hits instead of making the ovals/circles to dodge the shots
Grenade Ocelot Tutorial for all difficulties
After Ocelot
If you did not use grenades for Ocelot, you should pick up the grenades after Ocelot!
- Equip card, one to left after Ocelot
Tank Hangar
When going for Nikita Skip
new box glitch to skip Nikita route as put side by side by oICEMANo:
Easier method to Vent Glitch - holding buttons
hold triangle, hold dpad up, let go of triangle, hold X, let go of dpad up and x once standing
Alternative Vent Glitch
- Hold up and triangle, release both, then press X to clip the vent. Don't press X too fast, or it won't work.
Canyon (Tank)
- For avoiding the mines
- M1 Tank behavior is more strict on PC
Alternative video with lines for orientation when to do which action
Nuke Bldg 1F
- DPad Buffer is equip chaff immediately, upleft at 3rd shadow, go along the wall.
Nuke Bldg B1
Nuke Bldg B2
Clip out of bounds using the box damage animation glitch
how to perform:
- You need to wait a little bit after the codec before you move but not too long, 2 seconds is good
- Hold right until Snake sticks to the wall
- Tap down once to look down
- Punch once and go in FPV right at the end of the punch
- Aim for the visual cue
- Equip the box and wait for the animation to be over then hold right
More info:
https://metalgearspeedrunners.com/wiki/doku.php?id=mgs1_glitches#box_electric_floor_animation_glitch
Skip the following slowdowns/movement stops
- transformer stop
- guard scream stop
- post “it's a ghost” walk
When going for Nikita Skip
new box glitch to skip Nikita route as put side by side by oICEMANo:
Lab (Ninja)
New phase-skip boss fight method developed by iLL_Pazzo and Tromboncino
Ninja goes through several stages during this fight
- Phase 1: Open with 2 punch-punch-kick combos, use SWIM (switching weapons infinite momentum - tapping between two weapons) to follow ninja to the right side of the room during the cutscene.
- Phase 2: If you have no weapon equipped, Ninja will not run away, a weapon in your hand makes it easier to follow up to him. Depending on difficulty, Ninja jump dives on you after the third time on easy difficulty, or every 2nd time on extreme difficulty. For more info see the bosses link below.
- Phase 3: Hide and seek, on lower difficulties you can locate and run up to Ninja without issues, on hard and extreme you may need to lie down in order to trick Ninja into the jump dive attack instead of his slash attack. Follow Ninja again to the oppposite side of the room after the third successful attack with the SWIM (weapons switching) technique.
- Phase 4: You can make Ninja teleport and get another opening for a PPK combo with the right timing, an example is shown below. Alternatively, the easiest way is to stand on Ninja and have him teleport away, bait out a punch attack which you avoid, then ppk ninja.
- Phase 5: it is possible to shoot and hit Ninja before his bubble appears. Room locations are top left, middle right, top right. Ideally you stand near the PC corner for shot 1 & 2, then move to the right for shot 3 through the window.
More info on Ninja can be found here:
Ninja Full game Easy Example
Ninja IL extreme example
(Usually runnes do not pick up claymores for a full game)
Nuke Bldg B2
Nuke Bldg B1
- leave the elevator and shoot the socom once inside the office room
- if you do Cave Box Glitch, grab the box in the top left corner office room
- follow up with Meryl to the bathroom
- enter the commander room hallway and throw Meryl, then SWIM up for a faster cutscene trigger interaction
- after the cutscene, unequip your weapon, throw meryl into the room with a quick throw, enter the room, press 8 to get stuns ready
- Hold right, square and x to get an immediate stun throw for Meryl
- optional: grab socom ammo top right and/or grab famas ammo top left of the room
When going for Nikita Skip
new box glitch to skip Nikita route as put side by side by oICEMANo:
Commander's Room (Psycho Mantis)
There's a new method using Claymores in the Mantis fight.
We can use a Claymore on a precise spot with a precise timing (when he lands on the ground)
and it allows to end first phase after 2 shots on EZ instead of 7 shots using grenade.
We can force him to land on the ground to use Claymore faster by skipping chairs phase
but it requires a frame perfect shot which is pretty tricky.
the classic method
- No HIDEO means Mantis starts at the top of the room!
- Using FAMAS in FPV is a good way to aim at Mantis
Cave
There are several approaches for the first-time visit into the cave
- crouch under the wall and walk all the way across the room
- easiest to perform
- You may be attacked by the dogs which will cost you a few seconds
- you can shoot with the Socom - or alternatively spray down with the Famas if picked up in the Lab - to prevent the dogs from attacking you
- use the vent glitch to bypass the first wall faster
- medium difficulty strategy
- you can still be attacked by the dogs
- it doesn't load the texture of the second half of the cave, making it more difficult to find the exit at the 2nd wall
- you can perform the vent glitch and box glitch to go out of bounds
- advanced difficulty strategy
- takes you out of bounds and prevents you from being attacked by the dogs
- with the new SWIM technique we save additional 6s hitting the door trigger early
Video Tutorials
Easy Vent Glitch with holding buttons for approach 2 and 3
Alternative
- Timestamp 0:32 for approach 1
Underground Passage
- Unequip card, one to right for box, cave 1st trip
- Equip card, one to left after going oob
PSG-1 Backtrack
Leaving the Cave with Vent Glitch
- Strategy for EZ returning back from the Armory or Torture Room. Mash 0 to keep the rifle out and fire at the guard. Only about 1 second slower than the fastest RTA strategy, the left side chaff throw. Make sure not to hug the right rail at first, or the lower guard will spot you. Go to left wall then right rail for safety.
- if you need rations during Wolf 1, hold L2, two to left
- if you don't need rations during Wolf 1, stay unequipped.
Nuke Bld. 1F Strat Compilation
examples in the videos are timed as
- 27.2s for stun
- 29.8s for box trap
- 24.8s for righ side chaff
- 20.6 for left side chaff
- 21.7s for PSG1 shot left side
- 23.8s for the meme strat
Wolf 1
Rule 1 of Wolf fights, you do NOT need Pantezamin.
- before entering the room, hold 0 to equip the PSG-1 first frame possible at the start of the fight
- get used to locating Wolf during the scope animation
- after a shot, unequip and reequip the PSG-1 to reset the swaying
- optional: pray for Wolf to not stand behind the pillar which will delay your next opening for an attack
Video example for Easy difficulty
Video example for Extreme difficulty
Alternative to PSG-1 Wolf 1 - use weapons glitch and grenades - preferred by runners for extreme difficulty
https://clips.twitch.tv/ConsiderateBovineEndiveHeyGuys-TshpCMherWNxJrbG
Medical Room
- Begin video at 2:12 for All Bosses.
how to skip dress up sequence using SWIM
- If you need to take a bathroom break, call Colonel early, then wait by door
- from ration unequip, one to right for ketchup
- from card, one to left for ketchup
- equip card, one to left after using the ketchup
- quick equip chaff after grabbing gear
Communications Tower A
Boba Skip - 50% successrate on first try
Chaff/Stun damage alignment - click picture for fullscreen
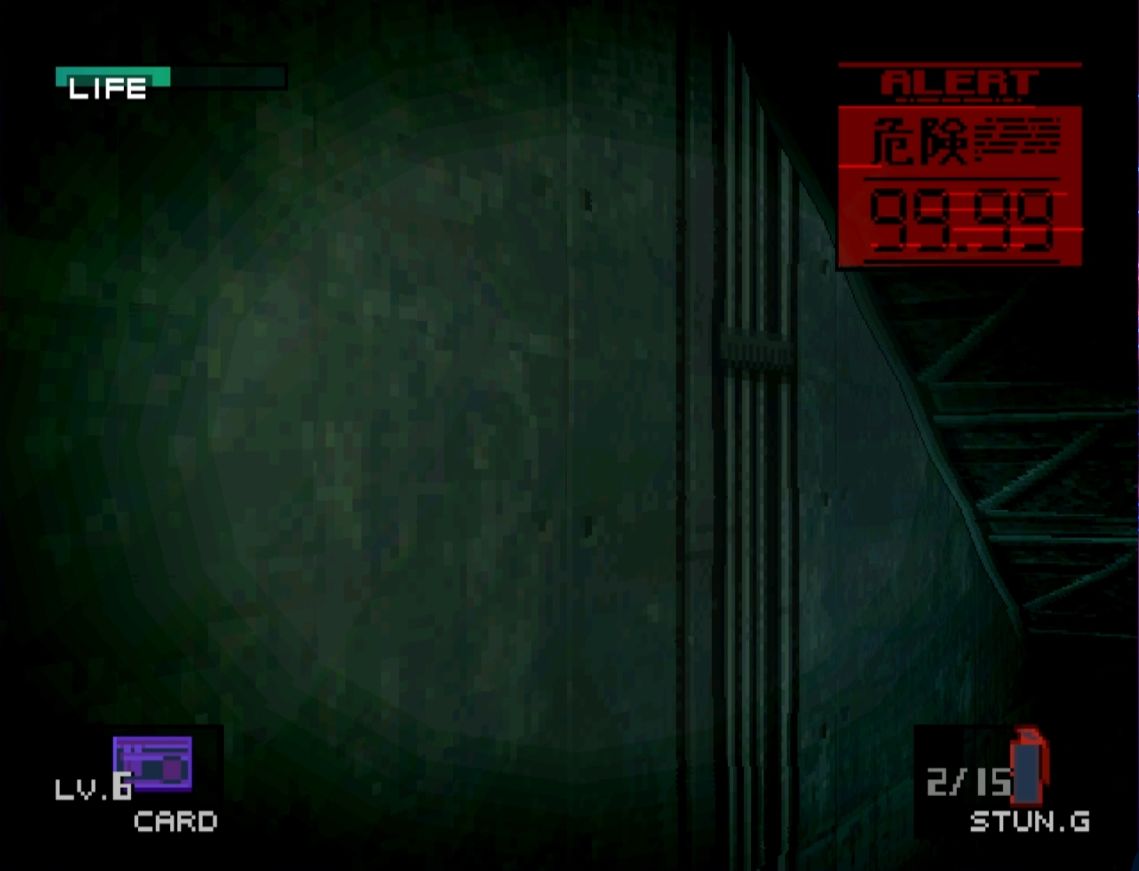
More infos about Boba skip can be found here
Further info on the old glitchless Tower A can be found in Glitchless
Walkway
- don't forget to pick up psg1 ammo
Communications Tower B Ascend
Easy Ascend Otacon dialog skip using GME2 and SWIM in comparison Swim variant is 1s faster than GME2 and lying on the floor to fix the camera
Hind-D
PC Boss Fight tutorial including ammo strategy before Hind fight and in preparation for Wolf 2 fight - slower but simpler thanks to using GME.
Communications Tower B Descent
Snowfield (Wolf 2)
Before the fight, willingfully fail the lean trick to not require walking back to the start of the arena. By failing the lean trick you will be knocked back further than the regular cutscene knockback.
Skip the level up sequence entirely using SWIM
!Warning! - your run will be invalid for All Bosses if you don't bring Wolf's life to 0 and go through the death barrier!
- On Easy, you recover all your HP after defeating a boss.
- By the end of the game, your HP bar becomes rather large.
- Because HP recovery is slow on Wolf 2, you do lose time if your HP is low enough.
- Just heal if you are one hit from death/worried about your performance.
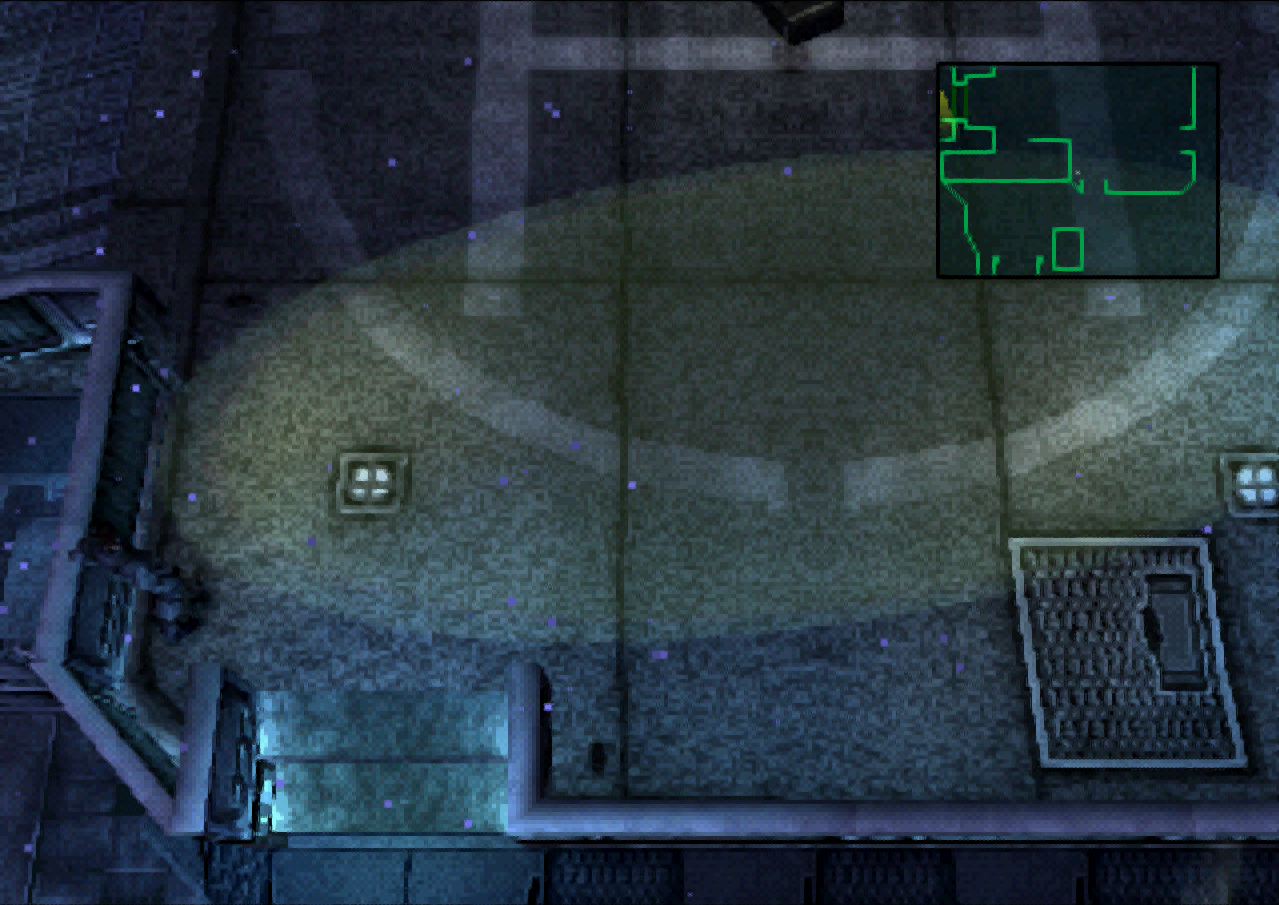
Visual guides

Ingame view super-wide screenshot (click for fullscreen)

Blast Furnace
once through the door, use GME Phase 2
- press 0 + your weapon of choice (most use 9 for chaff) and end up crouching, stand up
- alternative: crouch, quickly press 0 + another weapon (like 9 for chaff), then stand up again
- walk up through the elevator door
- either use FPV walk to find the door out of the blast furnace, use the radar or get used to the steps blind
Cargo Elevator
The PC speedrun can use the god mode exploit at the start of the fight for an even faster time to finish the cargo elevator fight. In the following the 4 common examples are shown:
- God mode then PPK all guards
- God mode then PPK bottom right guard, fpv, then quick throw the other 2 guards
- God mode into stinger, shoot top left and bottom left guard, explode guard 3 with C4 over the railing
- God mode into stinger, shoot top left and bottom left guard, explode guard 3 with a nikita explosion over the railing
The PC/Glitched example
the Console/Glitchless example
Bonus grenade + GME example by iLL_Pazzo https://cdn.discordapp.com/attachments/227010328603394049/941334998542327838/2022-02-10_15-08-37.mp4
Warehouse (Raven)
The execution of the Raven fight on PC is entirely centered around using the godmode exploit (GME).
The more prevalent strategy that has been established is to begin the fight with the Socom. For this tutorial section
we look at the easy and extreme difficulty positions as example. For Normal and Hard difficulty Raven will be
in different spots. See those in the specific Raven Boss guide page linked under this segment.
Begin the Raven encounter by holding our Socom and pressing the the weapon and crouch key to begin to run and gun immediately.
with Snake and move left. During your run to the left, execute GME with pressing 0 for the PSG-1
and another weapon key (like 9 for chaff for example or 1 to return to the Socom) and turn the corner
to face Raven to the north. Send of your first shot and keep running at Raven until you are right in front of him.
Equip the Nikita and while standing in front of Raven, hold the Weapon button down. Once the Nikita LED
has blinked twice, enough time has passed to shoot Raven again since his i-frames have worn off.
If you run out of Nikita or intentionally didn't grab all the Nikita ammo when grabbing the weapon itself,
just behind Raven to his left is another Nikita ammo box with more shots.
Easy Difficulty Example
General Raven Boss Guide

Warehouse North
Underground Base (Rex's Lair)
Underground Base 2
Underground Base 3
Drainage Ditch PAL Key (10+ Alerts)
- There are 7 spots the PAL Key (and Bomb) can spawn
- This only happens if you have 11 or more Alerts before entering the bottom floor

Rat and Room Temperature (Yellow)
This method is for Rank 1 strats incl. Big Boss on Extreme difficulty
- The rat can hear you shoot regardless of distance, so unequip with R1 to avoid this. For example, the rat is by the turret and you shoot by the stairs.
- Jumping into the ditch will spook the rat, regardless of distance.
Command Room (Computer Room)
Low Temperature (Blue)
Wait at least 61 seconds before leaving the room. Alternative listen in for the audio cue in the music, when the choir goes down for the third low note change, THEN leave when the strings start playing over the low note.
High Temperature (Red)
Wait 61 seconds at minimum again. The Audio cue with the fixed game OST plays the drum fill, then has the strings play a note that clearly is at odds with the rest of the music. A high pitch. Do NOT go into the small room with the pipes and steam, merely entering the Blast Furnace door counts for heating the pal key. The room transition can randomly delay the Pal Key change. See here different versions of grabbing the extra stinger ammo you need for extreme difficulty. On lower difficulty it can save frames not grabbing the warehouse north Stinger ammo, but the BF ammo.
ONLY FOR VERY EASY Save 2 seconds by area reloading After the warm key has been inserted and Liquid called you on the codec. Then call Otacon and wait outside the room. This way the door never closed but the flag for Otacon opening the door for you advances still.
Video example by iLL_Pazzo
MG-REX
Liquid Snake
- Snake does more damage on Easy, making the fight faster.
- During Phase 2, Liquid will run away if you finish with a kick on Easy and Normal

- You can PPK to finish Liquid off at 16 HP on Easy
Various 2, 1 and 0 throw setups
another bottom left side no throw setup by Tromboncino
Escape Route
- Only pick up the ration in the parking lot!
- Guards deal 40 damage (5%) in the parking lot on EZ, and 42 damage during the driving sequence
- There are two bottlenecks in the Parking Lot sequence. Your ally will not say “Snake, hold on!” until 9:34.60 on the timer. Therefore, your time can be no faster than 9:31.66. Video example here!
- Aim at the corner of the metal for Checkpoint 1

- Aim at the corner of the door to the left after Checkpoint 2 to aim for the left guard

- Guards take 4 shots each on EZ
Liquid Jeep
- Liquid Jeep - 16
- Phase 1 (Swerve 1) - 3
- Phase 2 (Tunnel Bumper) - (2 transition) 2
- Phase 3 (Swerve 2) - 2
- Phase 4 (Columns) - (2 transition) 3
- Phase 5 (Side by Side) - 2 [7 total for phase 4 and 5]